Connecting GitHub account
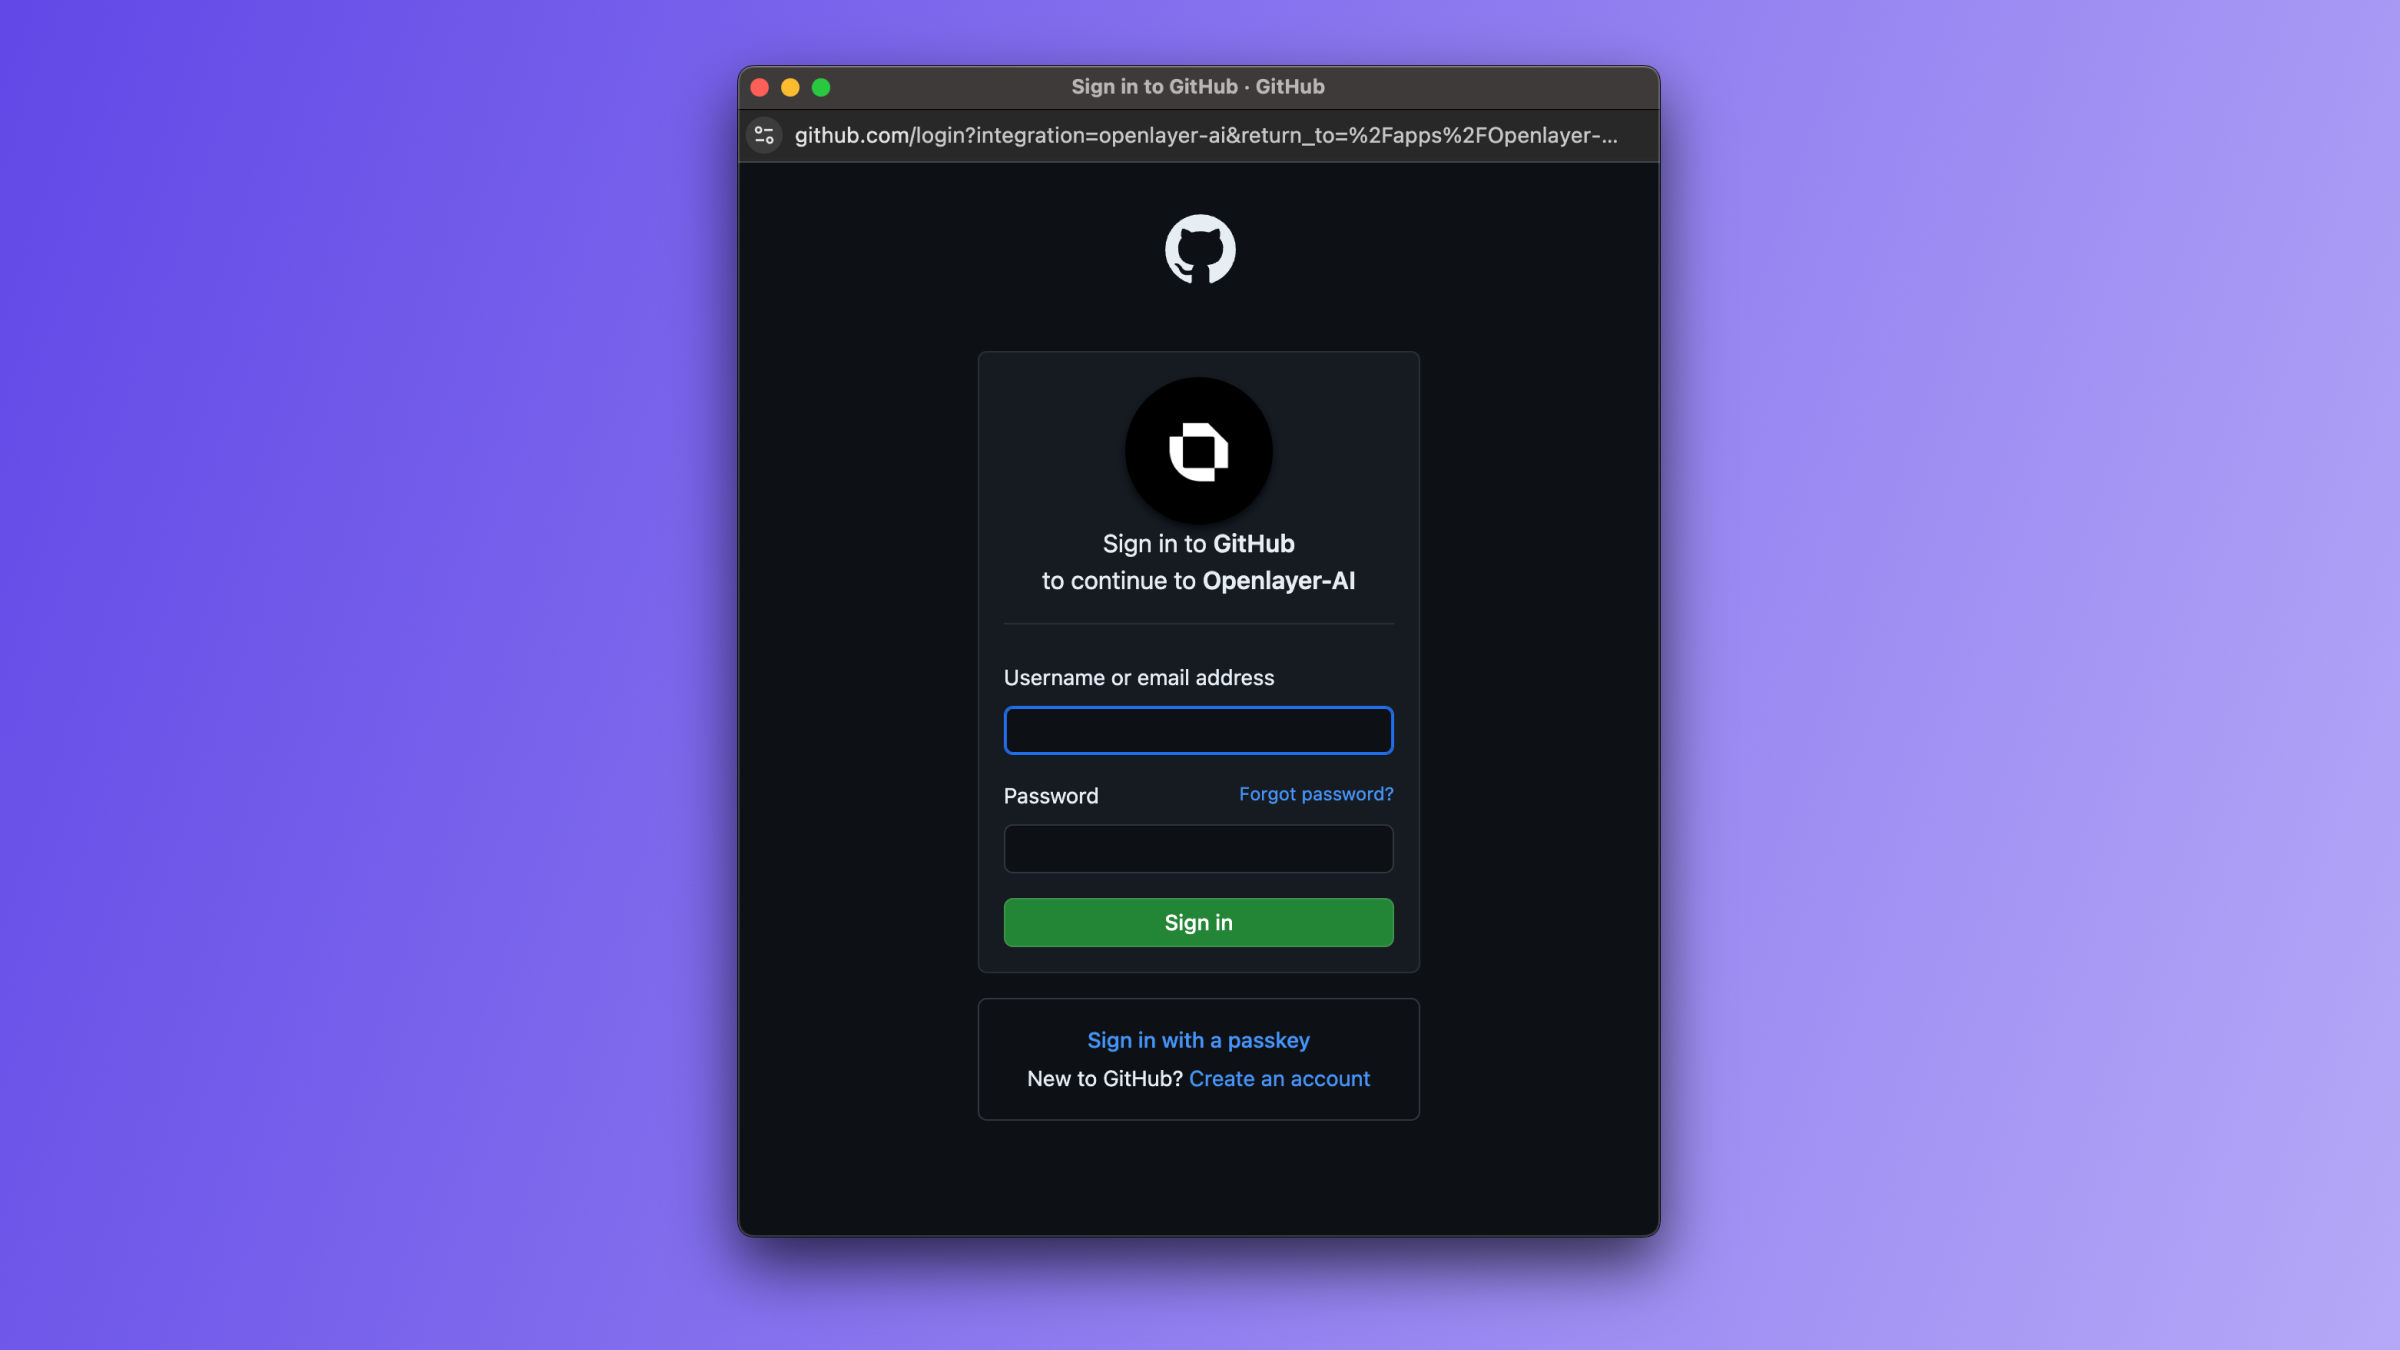
The first step is connecting your GitHub account to Openlayer. To do so, navigate to “Settings” > “Integrations.” Click “Enable” next to the GitHub integration section.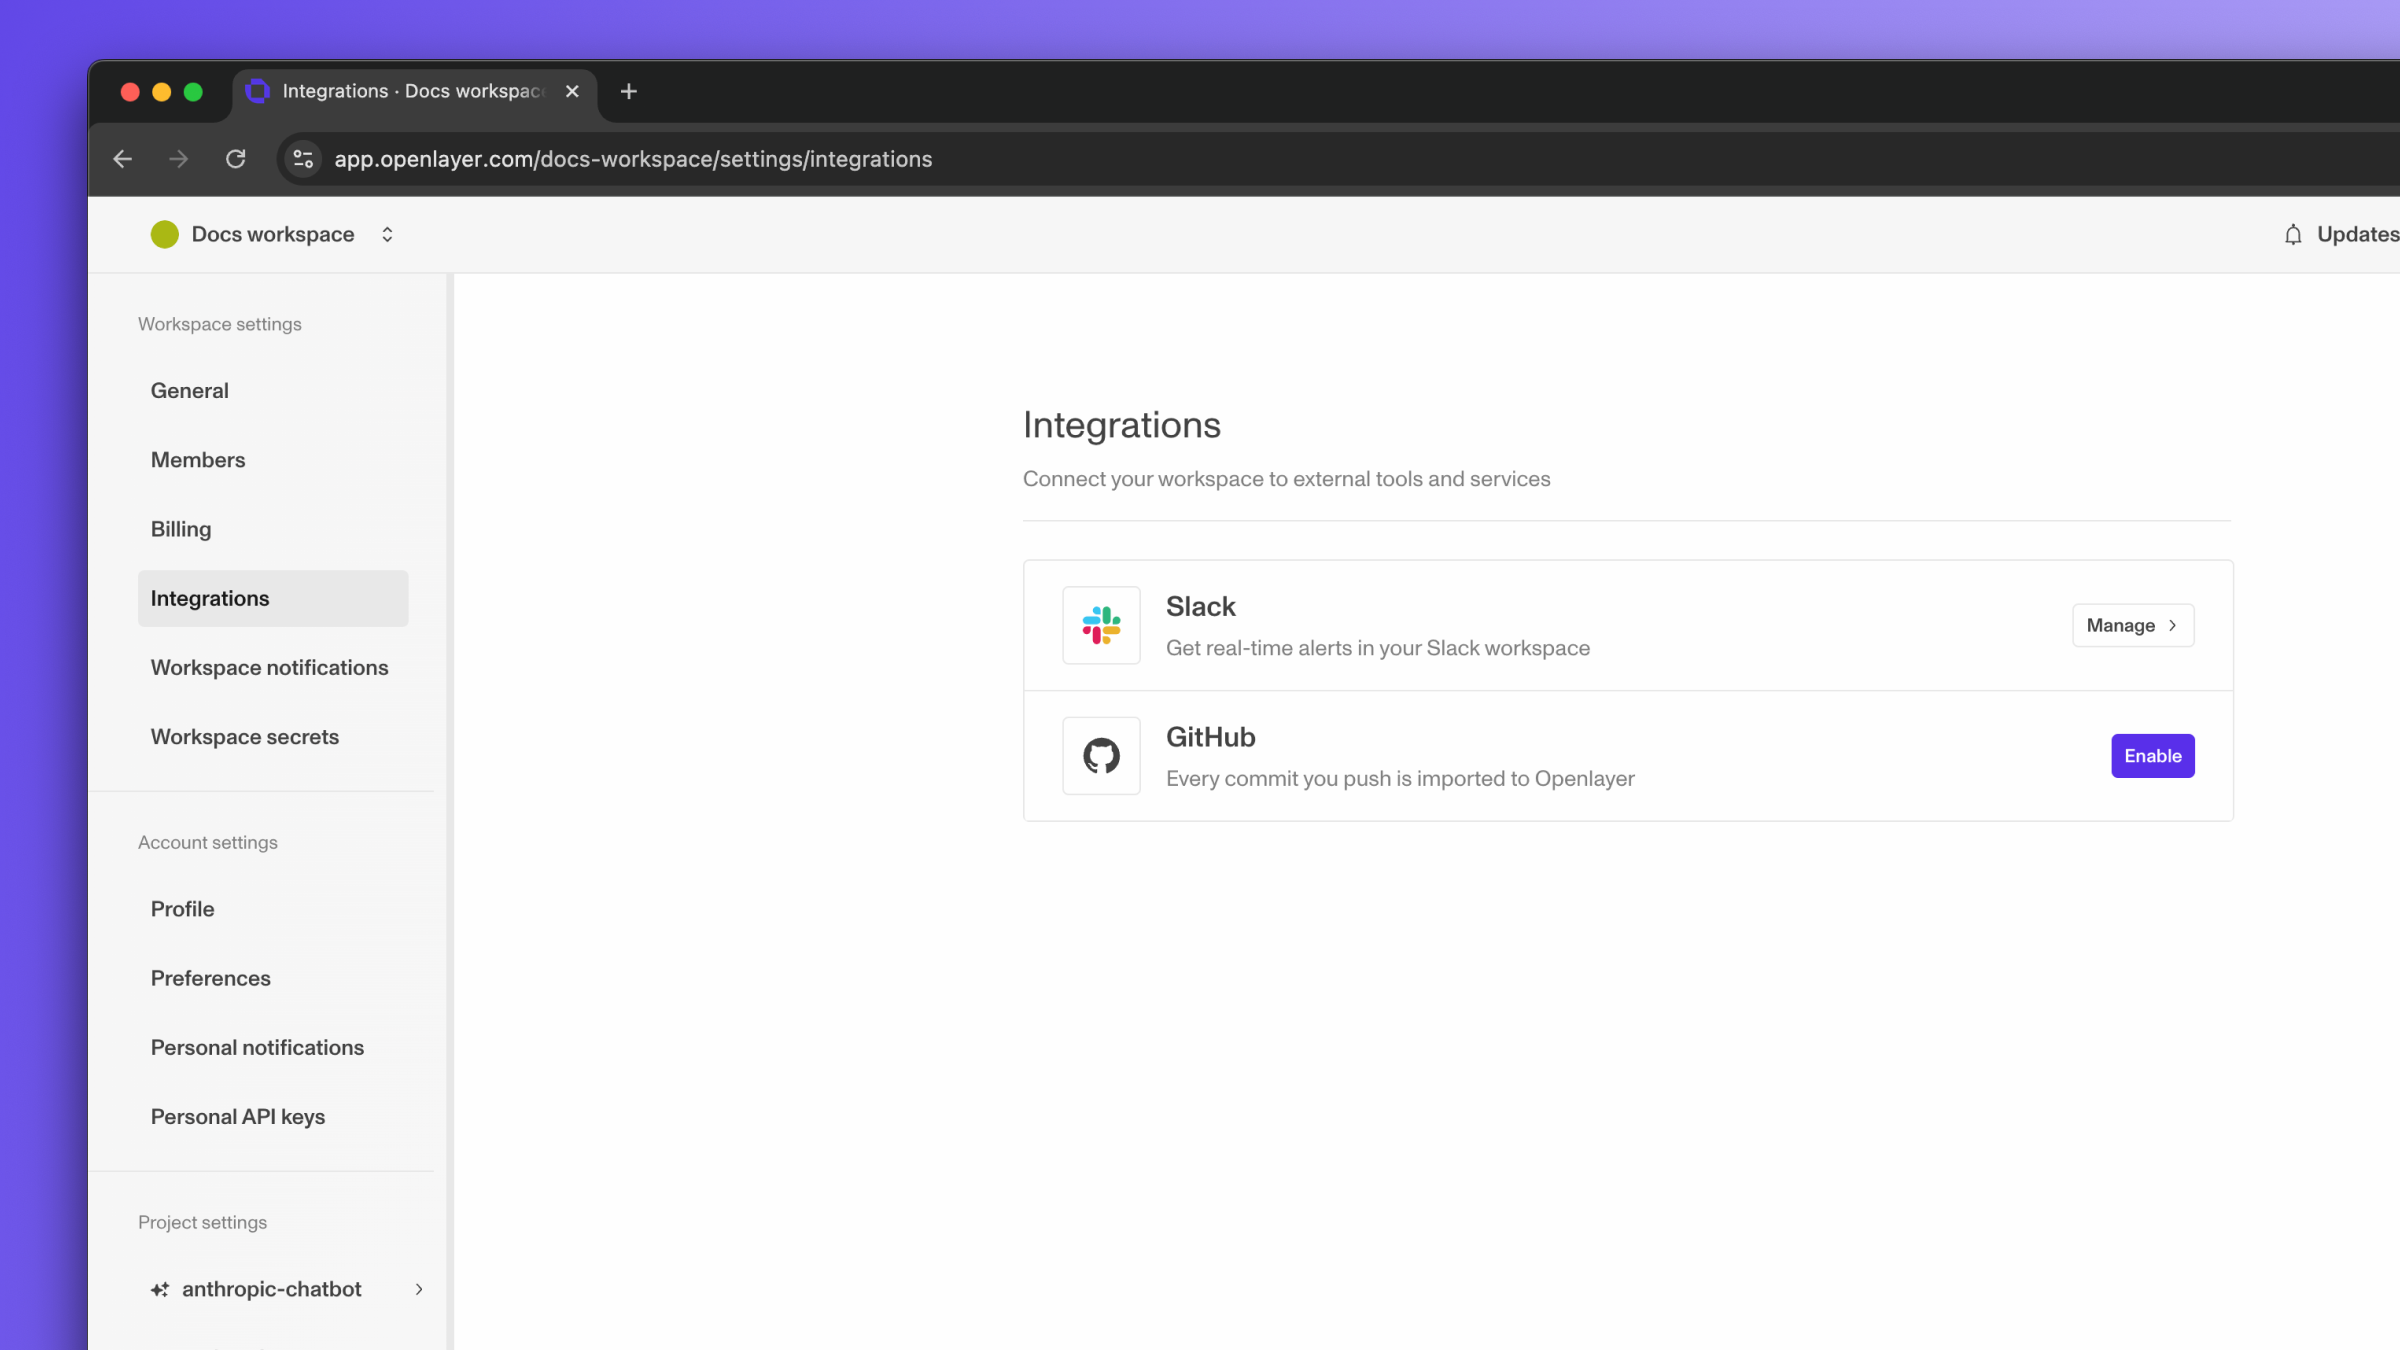

Linking a GitHub repo to a project
Now that your GitHub account is connected to your Openlayer workspace, you can link a repo to an Openlayer project. You have two options:Create a new project and link Git repo
Create a new project and link Git repo
If you follow the instructions to create a new project, you should see the option to
link a GitHub repo right away.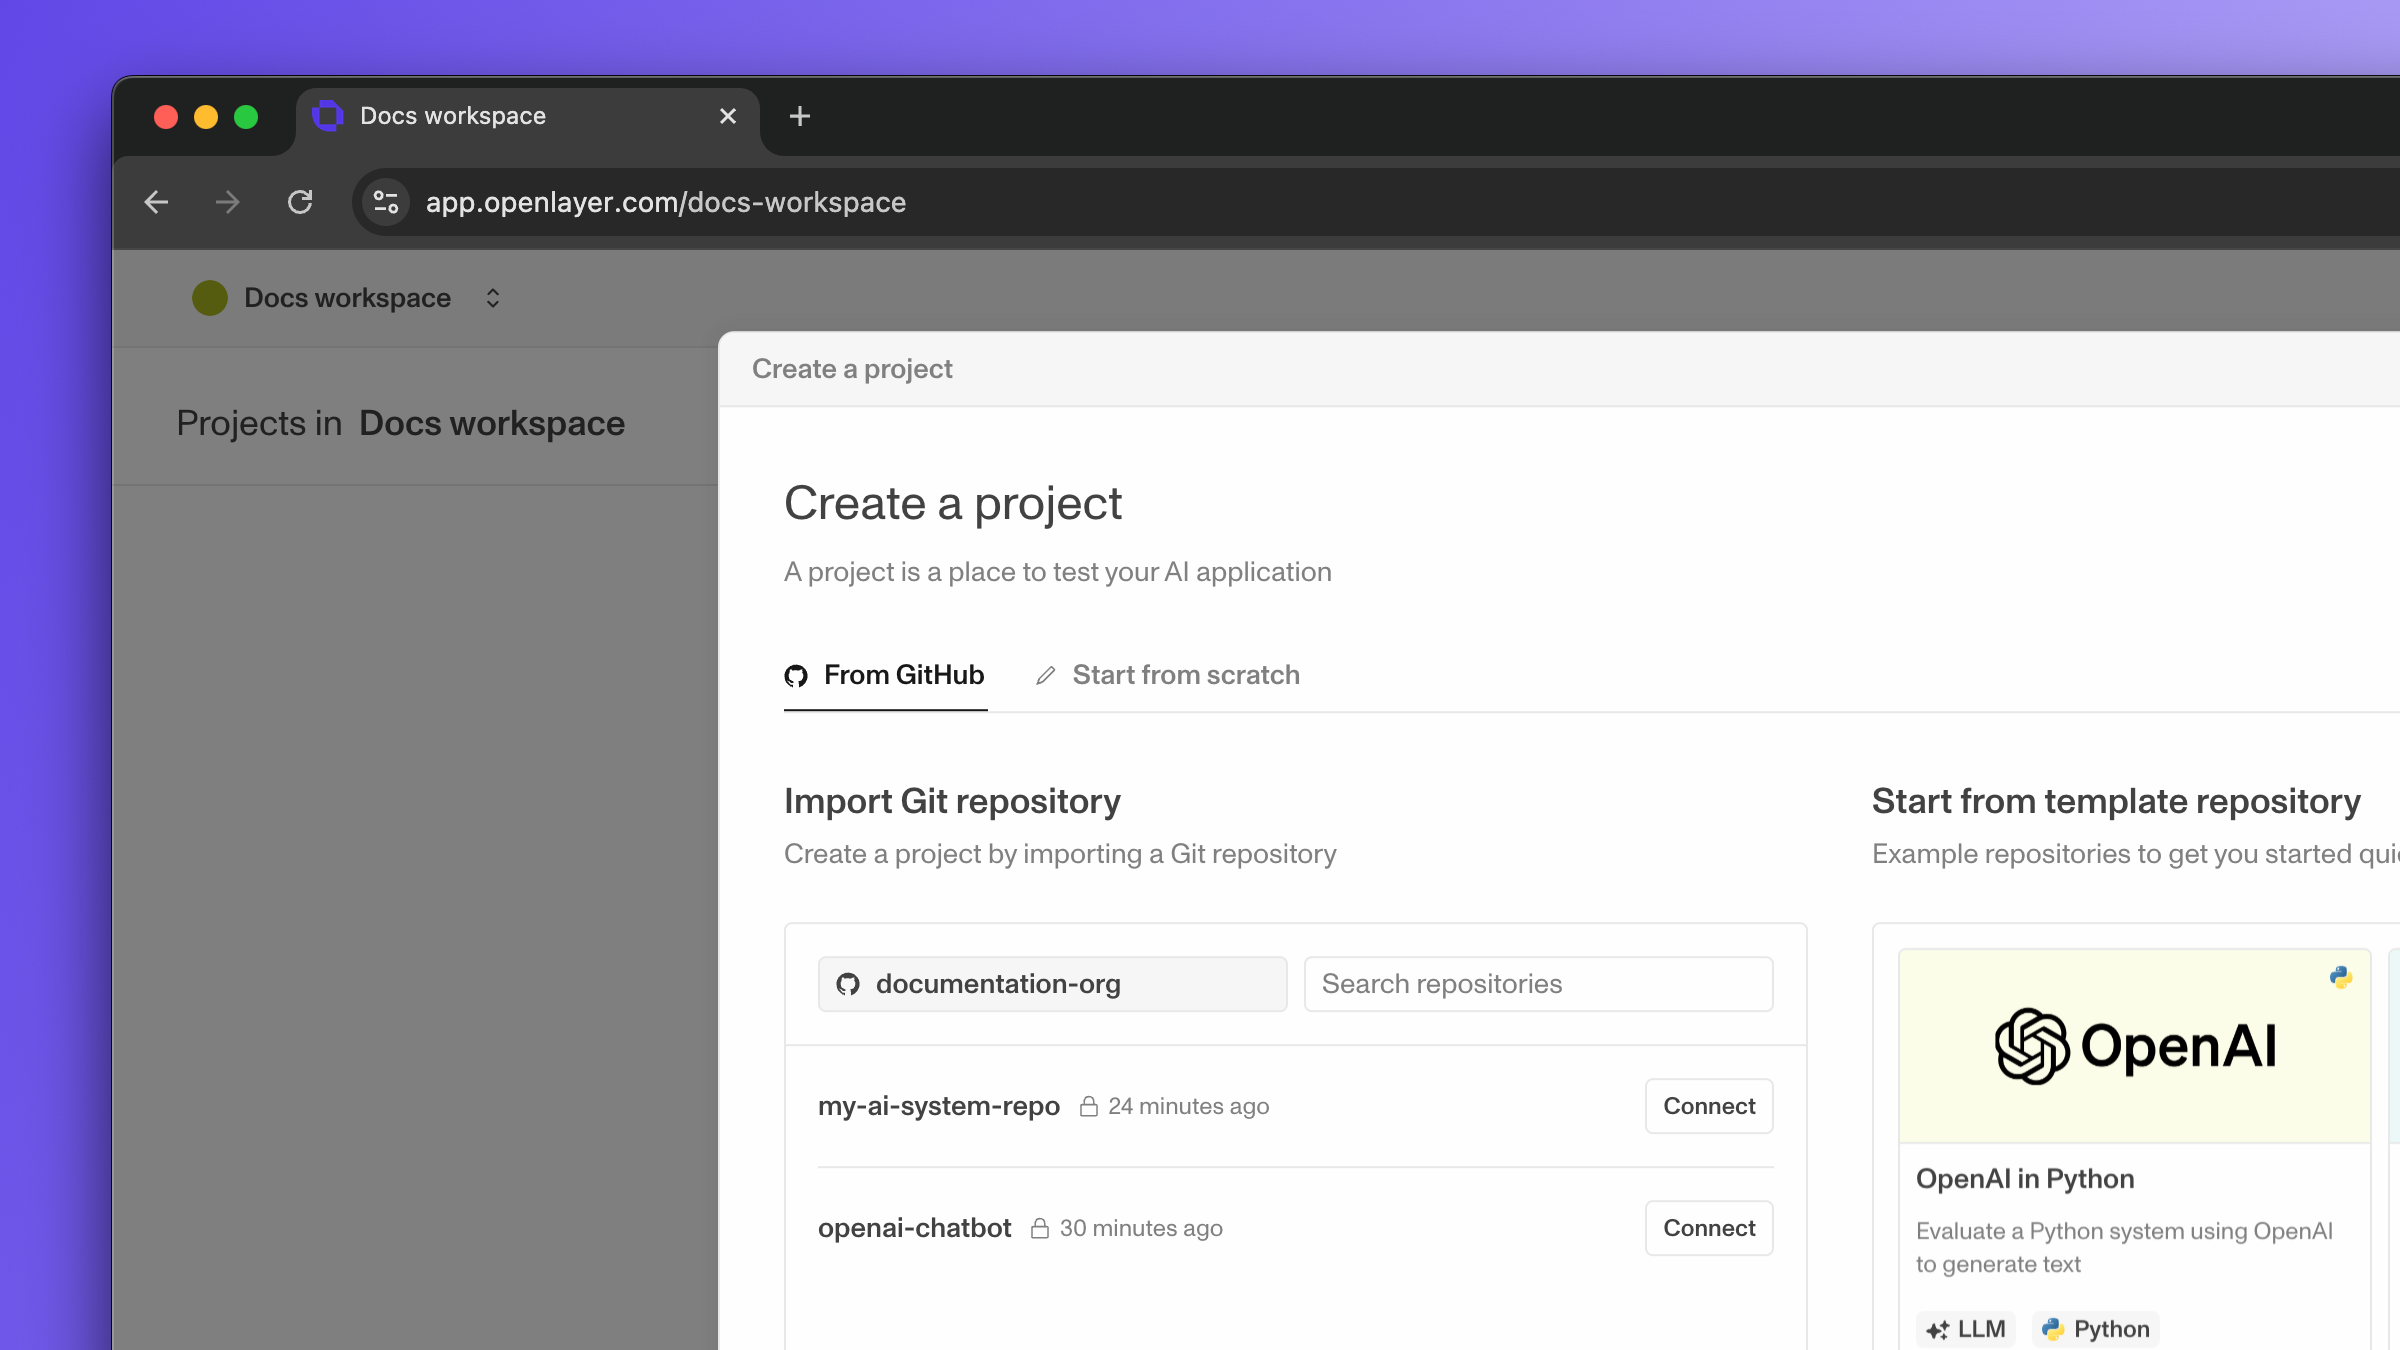
Link Git repo to an existing project
Link Git repo to an existing project
Navigate to “Settings,” and then scroll down on the left sidebar to the
project settings. Under the project you want to link a GitHub repo to, click on
“Git repository.”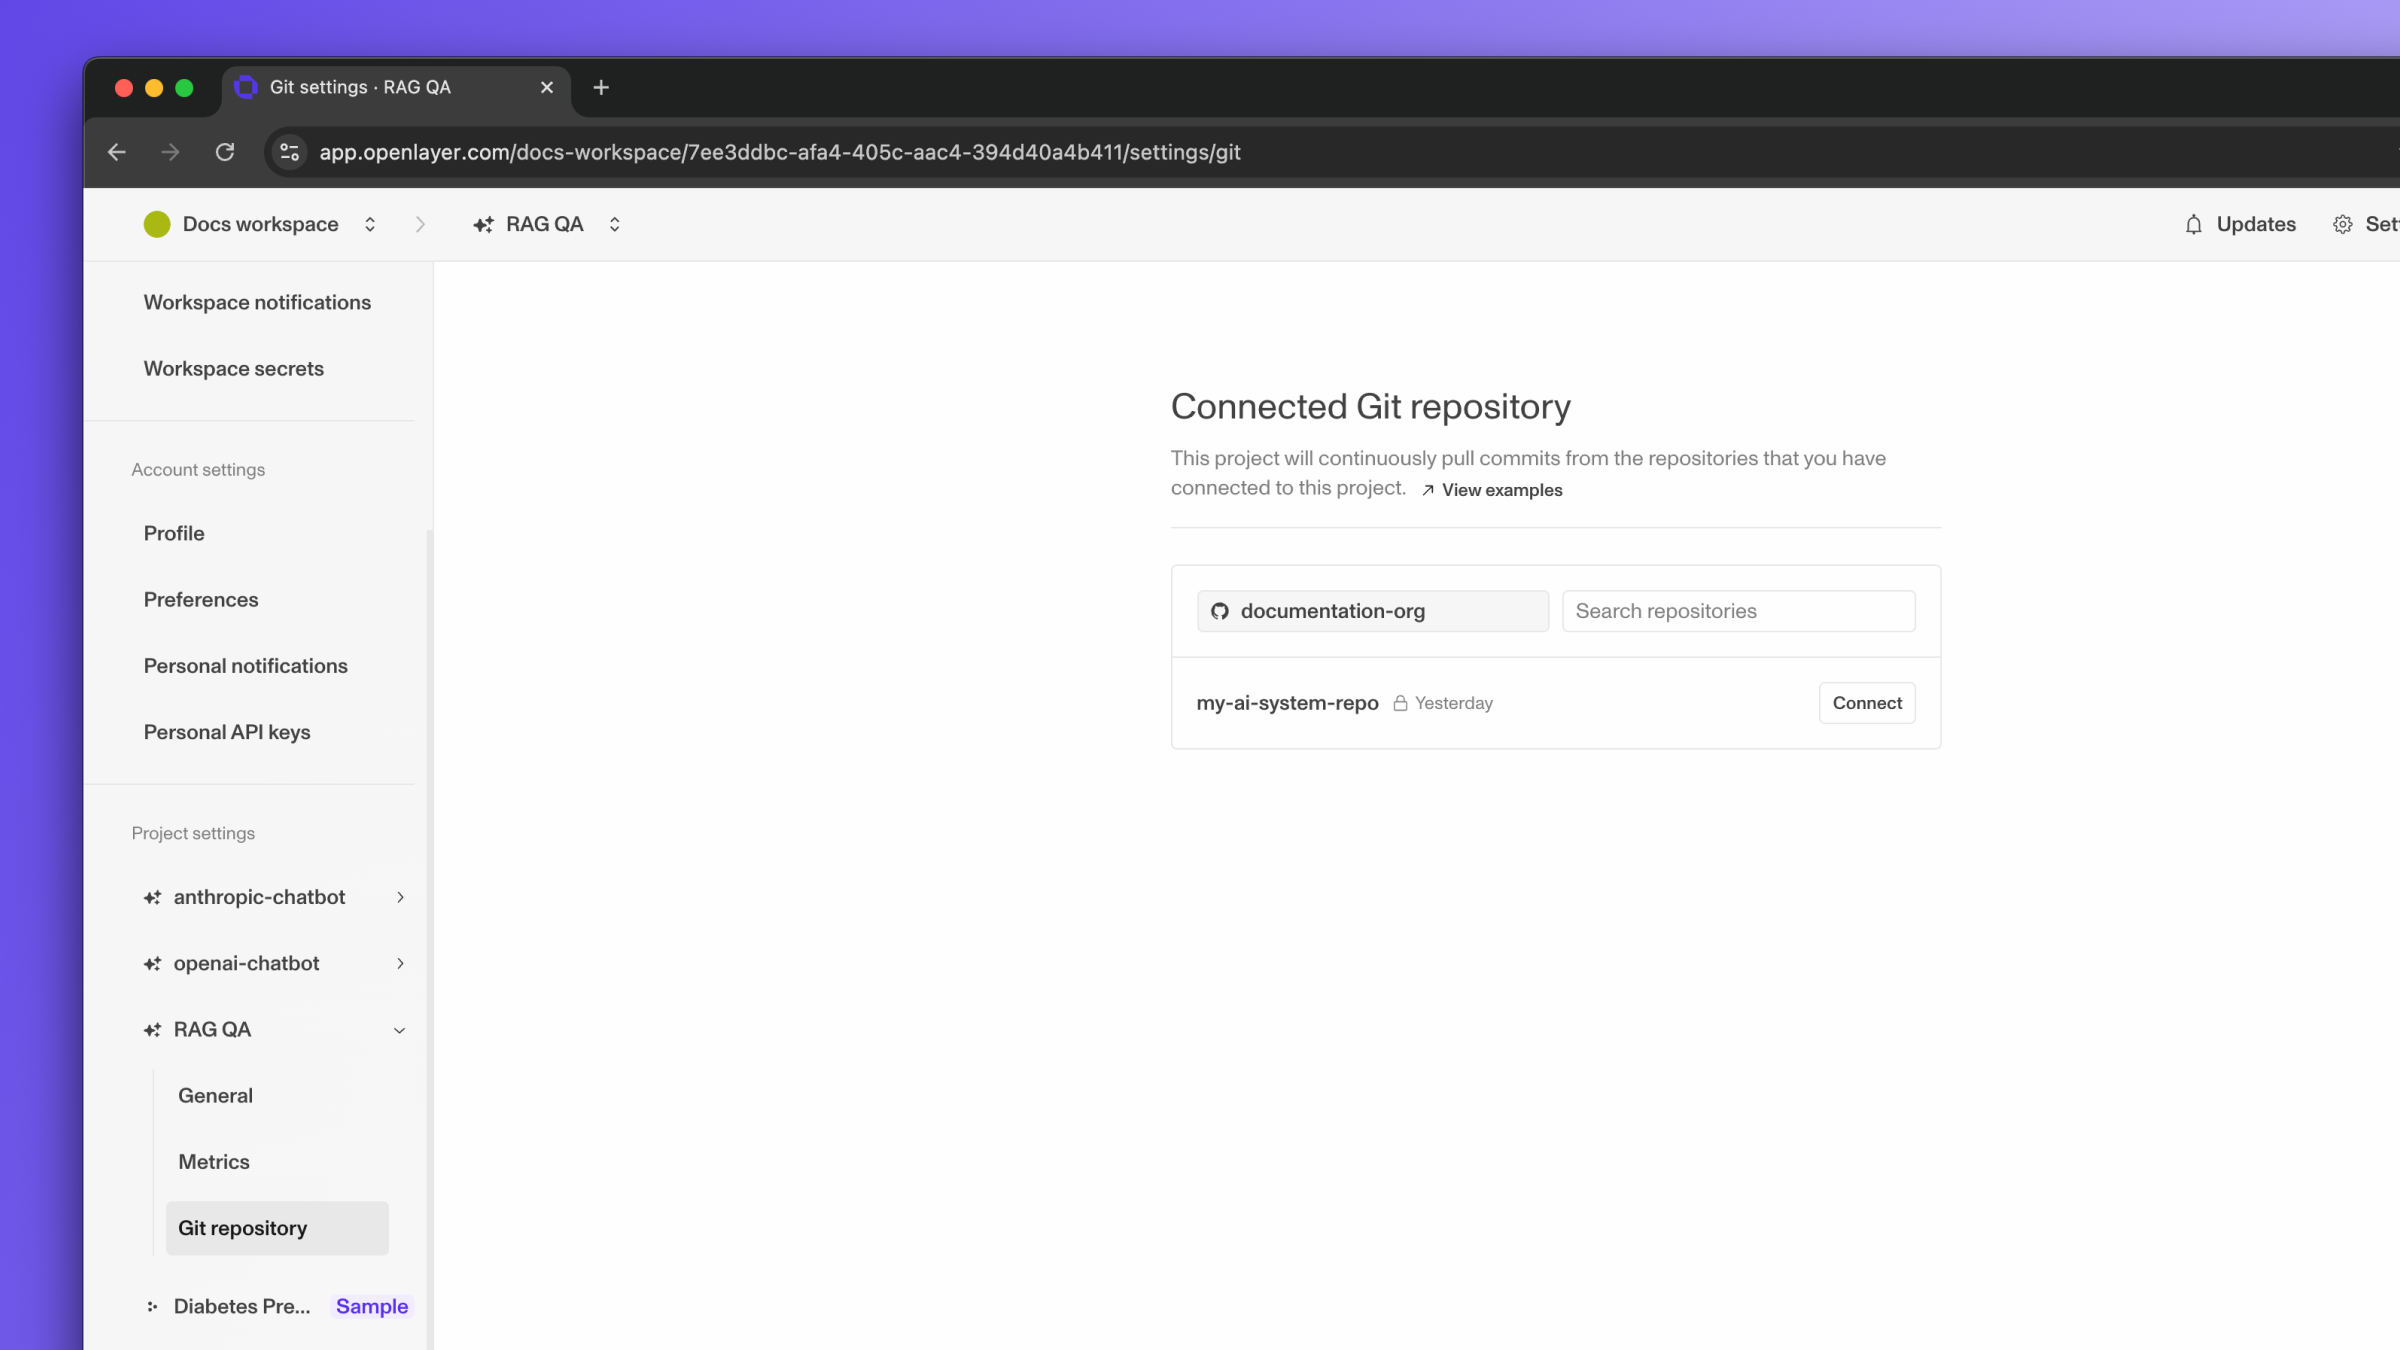
- Branch name: the branch of the Git repo being connected. Pushes and pull requests to this branch will trigger the evaluation of your tests.
- Root directory: the directory within the Git repo that will get pushed to Openlayer. This should be the directory with Openlayer’s configurations (such as the openlayer.json).
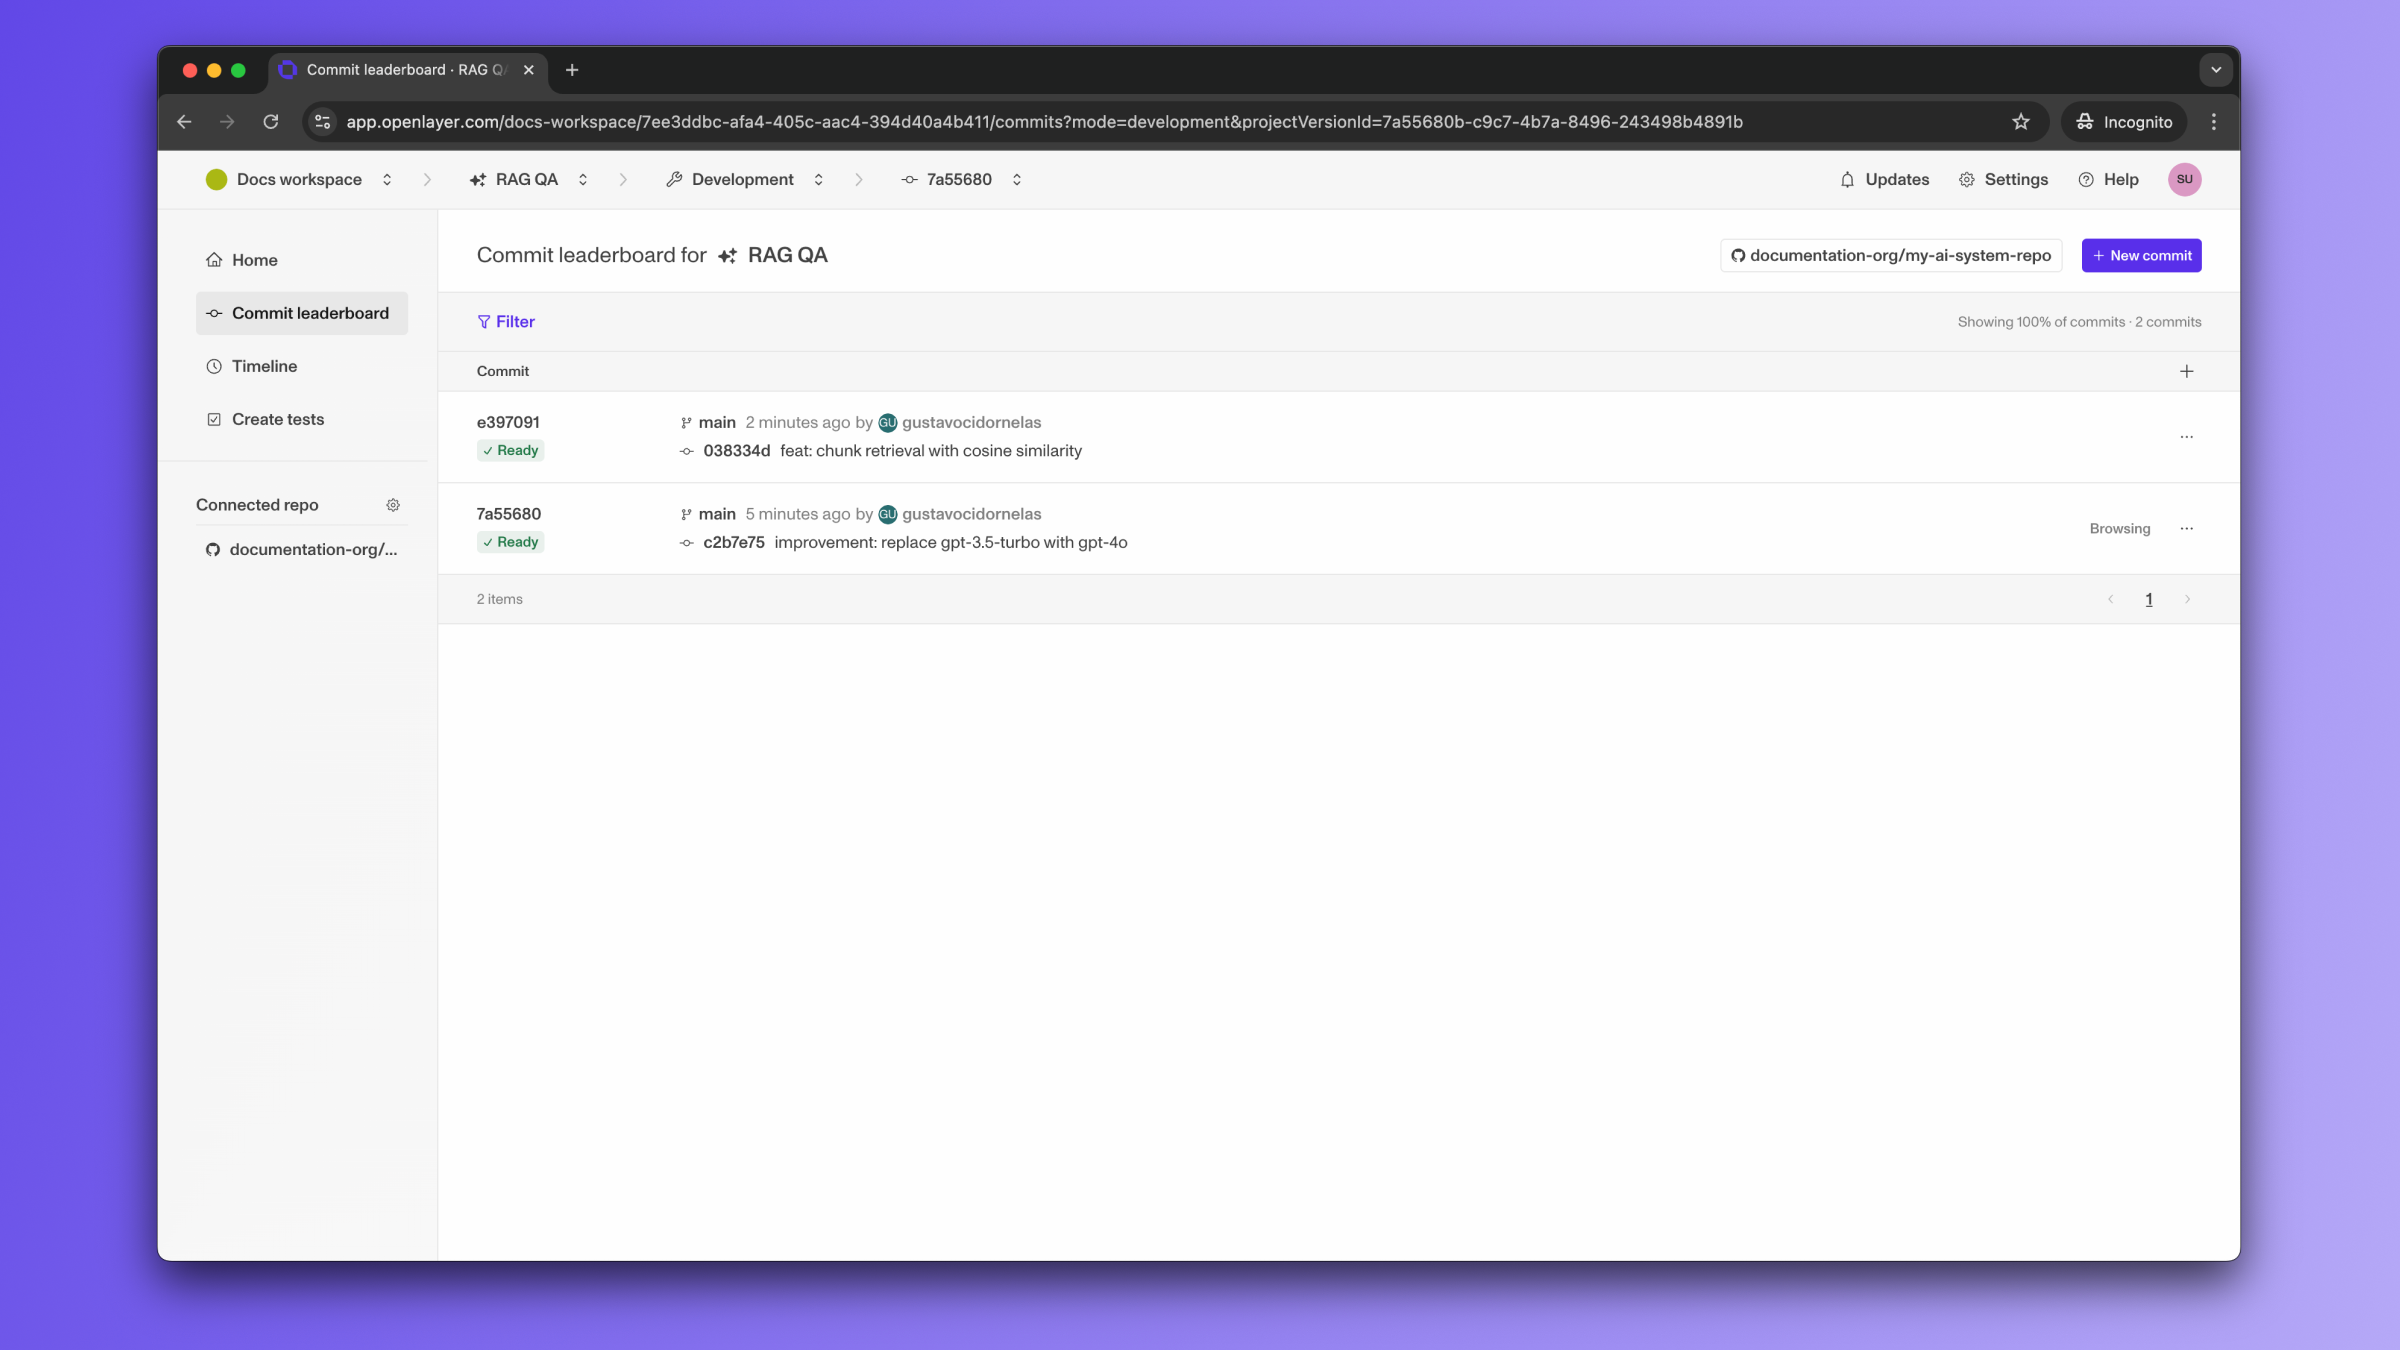
Pushing changes
After linking your GitHub repo to your Openlayer project, all your pushes and pull requests to the branch you configured in the previous step will trigger the evaluation of your tests. In your GitHub repo, you should see the Openlayer app running.